2019. 5. 27. 17:54ㆍProgramming/c++
https://github.com/open-source-parsers/jsoncpp
open-source-parsers/jsoncpp
A C++ library for interacting with JSON. Contribute to open-source-parsers/jsoncpp development by creating an account on GitHub.
github.com

jsoncpp를 사용하기 위해서 우선 위 사이트로 가서 git 주소를 받아온다.

git repository를 받기 위해서 git clone 버튼을 눌러준다. git clone 사용하기 위해서 tortoisegit을 사용한다.

copy 한 주소가 자동으로 URL안에 들어가 있게 되는데, 자동으로 들어가있지 않다면 수동으로 git 주소를 넣어준다.


소스를 받는데 성공 했으면 위처럼 파일이 지정한 경로로 들어와 있는 것을 볼 수 있다.

cmake CMakeLists.txt -B json_git -G "Visual Studio 15 2017 Win64" 명령어를 입력해서 프로젝트를 만들어낸다.

파일이 나오면 jsoncpp.sin을 실행한다.

jsoncpp_lib를 빌드한다.

빌드를 마치면 위의 경로에 jsoncpp.lib 파일이 생성된다.

기본 프로젝트를 생성한다.

처음 받은 git repository에서 include 폴더의 json폴더와 jsoncpp.lib를 원하는 새로 만든 프로젝트가 있는곳에 복사한다.

|
1
2
3
4
5
6
7
8
9
10
11
12
13
14
15
16
17
18
19
20
21
22
23
24
25
26
27
28
29
30
31
32
33
34
|
#include <iostream>
#include "json/json.h"
#pragma comment(lib, "jsoncpp.lib")
#pragma warning(disable: 4996)
using namespace std;
int main()
{
string str;
Json::Value root;
root["name"] = "KKK";
root["age"] = 12;
root["address"] = "kor";
root["gfriend"] = true;
Json::Value family;
family.append("mother");
family.append("father");
family.append("brother");
root["family"] = family;
Json::StyledWriter writer;
str = writer.write(root);
cout << str << endl;
system("pause");
return 0;
}
http://colorscripter.com/info#e" target="_blank" style="color:#4f4f4f; text-decoration:none">Colored by Color Scripter
|
|
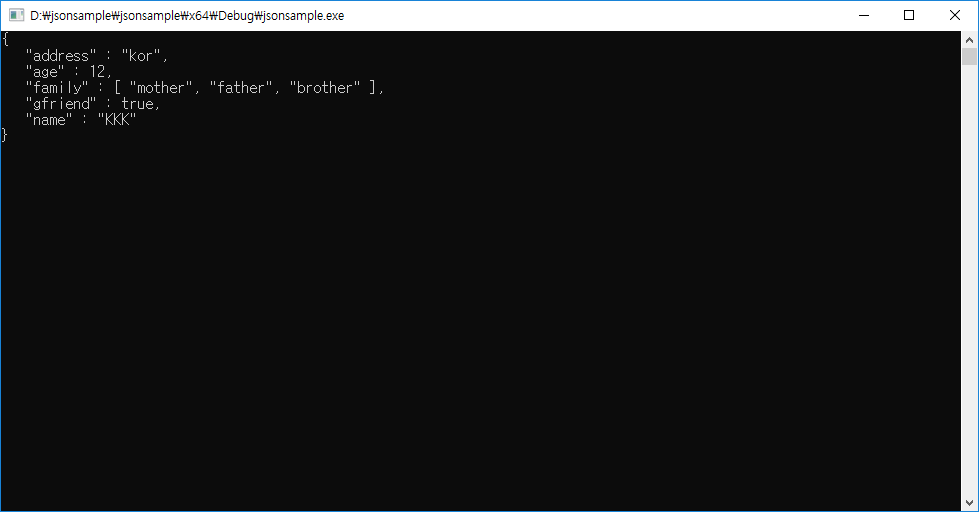
테스트 코드를 넣어서 json이 잘 동작하는지 확인해보자.

json 데이터를 잘 파싱하는 것을 볼 수 있다.
'Programming > c++' 카테고리의 다른 글
| union을 사용해서 4byte 인덱스 조합하기 (0) | 2018.12.04 |
|---|---|
| string split (0) | 2018.11.21 |
| rvalue 참조 사이트 (0) | 2017.02.17 |